Explanation
Fundamentally, the occurrence involves any modification to the PCI lanes on the motherboard, such as relocating a PCI(-E) card to a different slot, removing it, or adding a new one. Upon rebooting Proxmox, the change is detected, resulting in a reassignment of new IDs for the individual devices on-board, including the Ethernet port’s ID, which is assigned a static ID during Proxmox installation. However, the Ethernet ID remains unchanged during the shift and requires manual modification.
This means you also might have to double check the added device(s).
Making the login prompt accessible again
What you first want to do is to put your device(s) back in the slot(s) they were in before you made changes. That way the IDs will shift back again to what they used to be, Proxmox has that configuration stored in its configs. Then you’ll be able to access the WebUI again just like before.
You then want to head into the Node’s Shell and temporary disable all blacklisting you’ve applied.
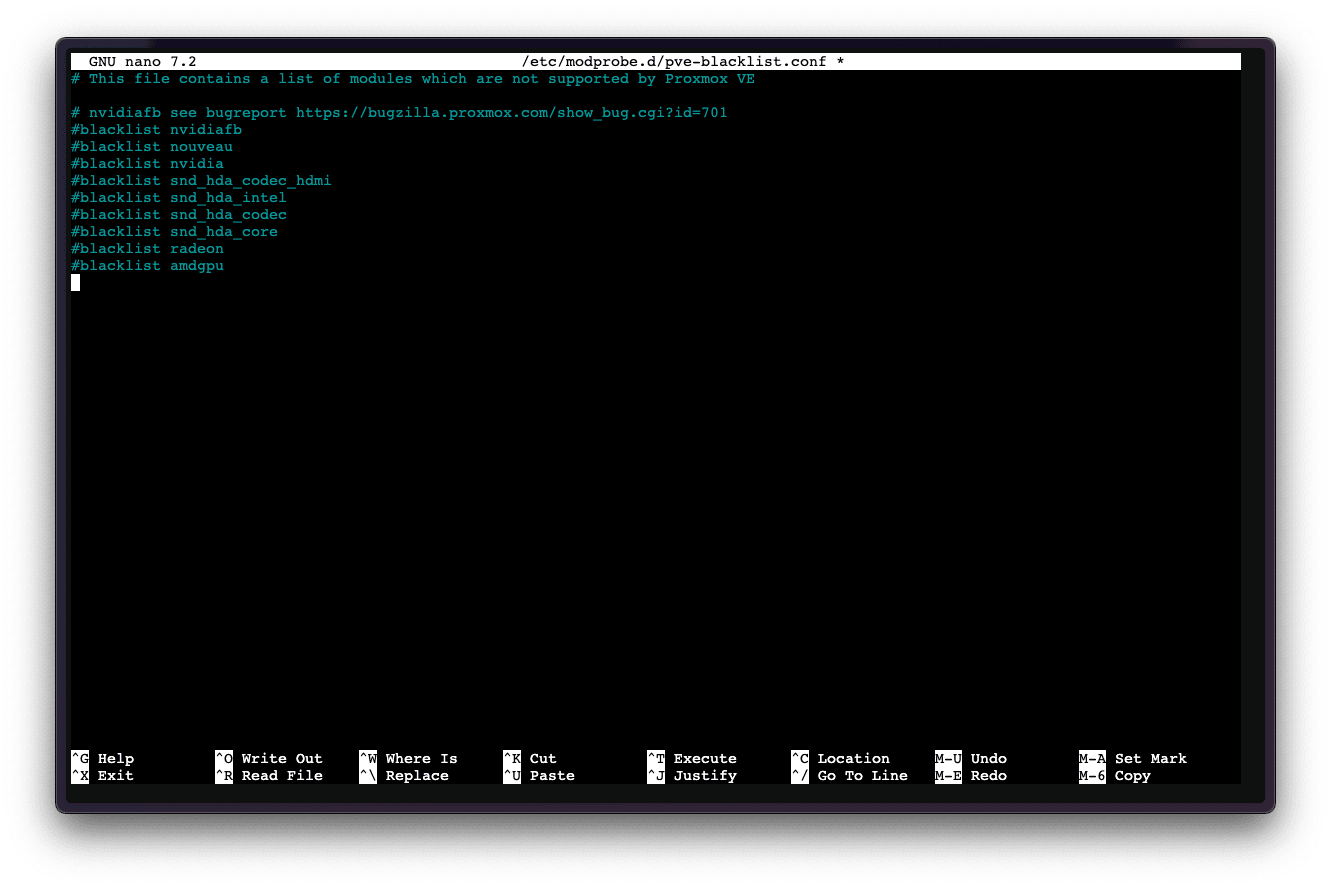
nano /etc/modprobe.d/pve-blacklist.confAnd type a # in front of every entry so they appear blue, which means they’re just a comment instead of an argument/value.
Save and Exit the file.
Ctrl + X -> Y -> Enter

nano /etc/modprobe.d/vfio-pci.confAnd type a # in front of every entry in there as well
Save and Exit the file.
Ctrl + X -> Y -> Enter
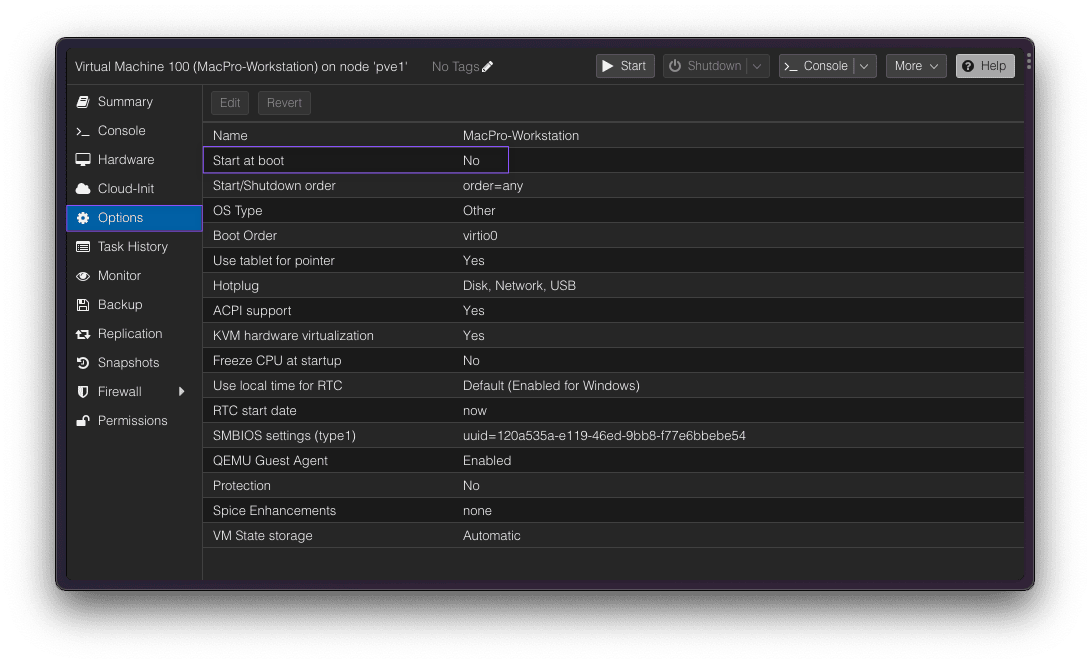
If you have any VM(s) to auto start upon booting Proxmox, make sure to disable that.

If not, go back and re-check the steps.
Making the new hardware changes
You can now make the changes to your hardware as you did previously to your liking, swap out PCI(-E) cards, move slots and so on.
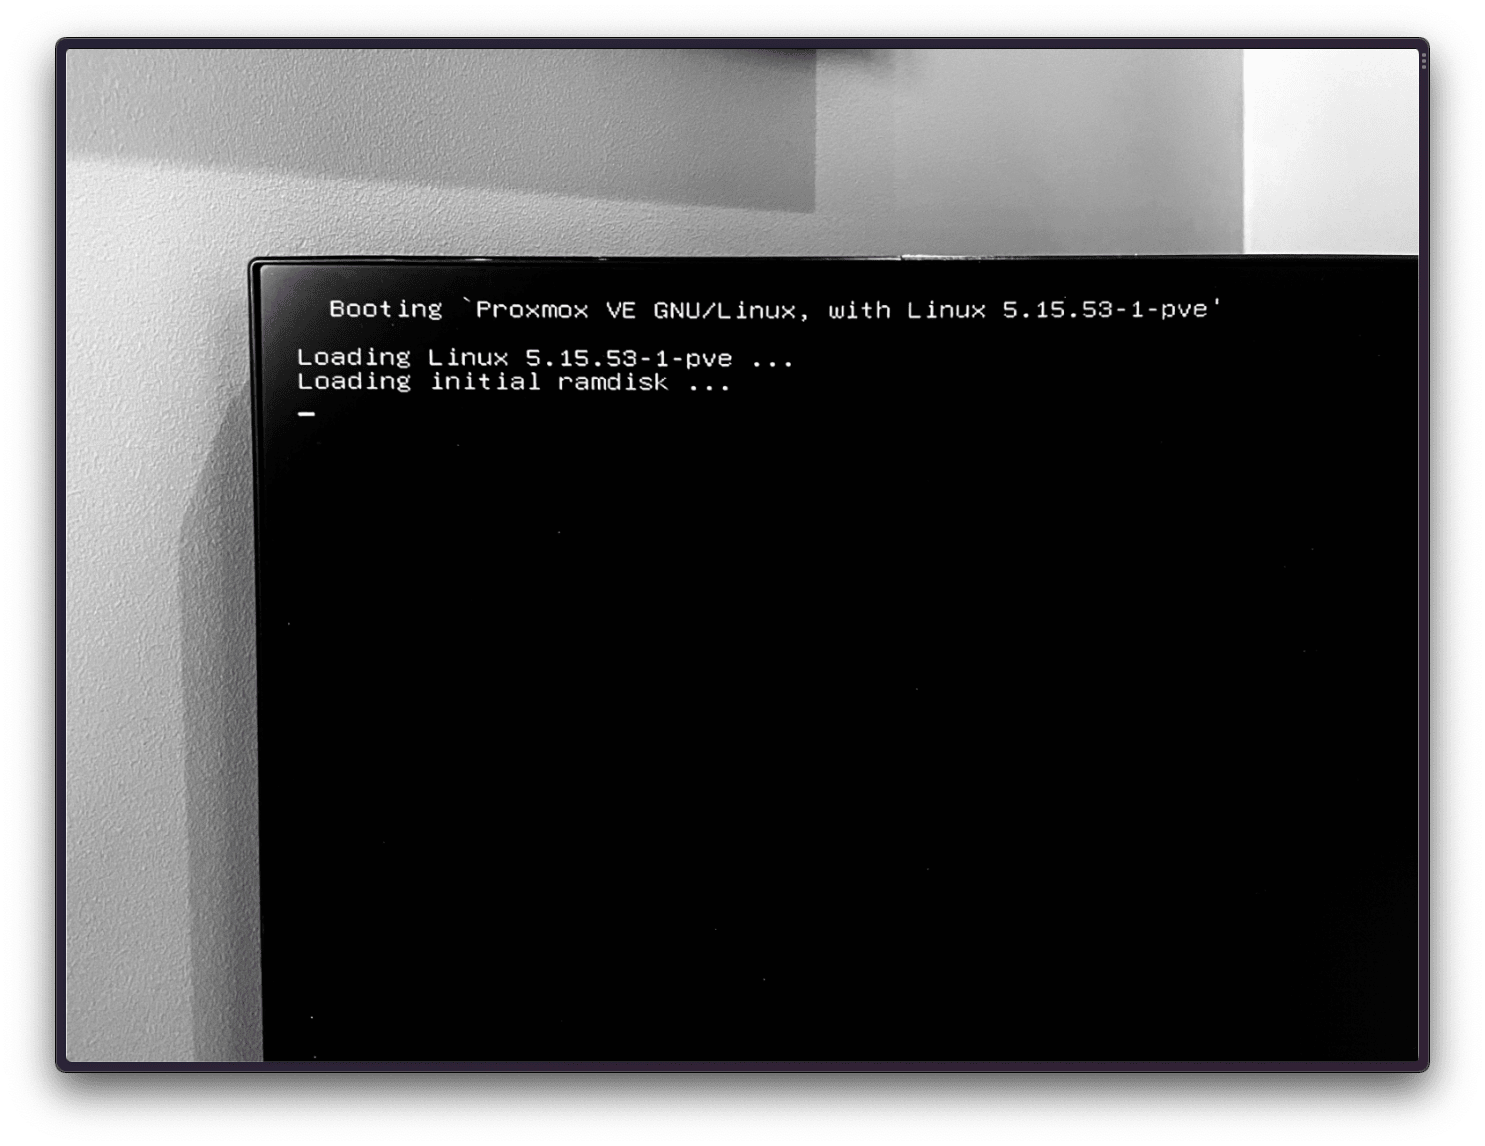
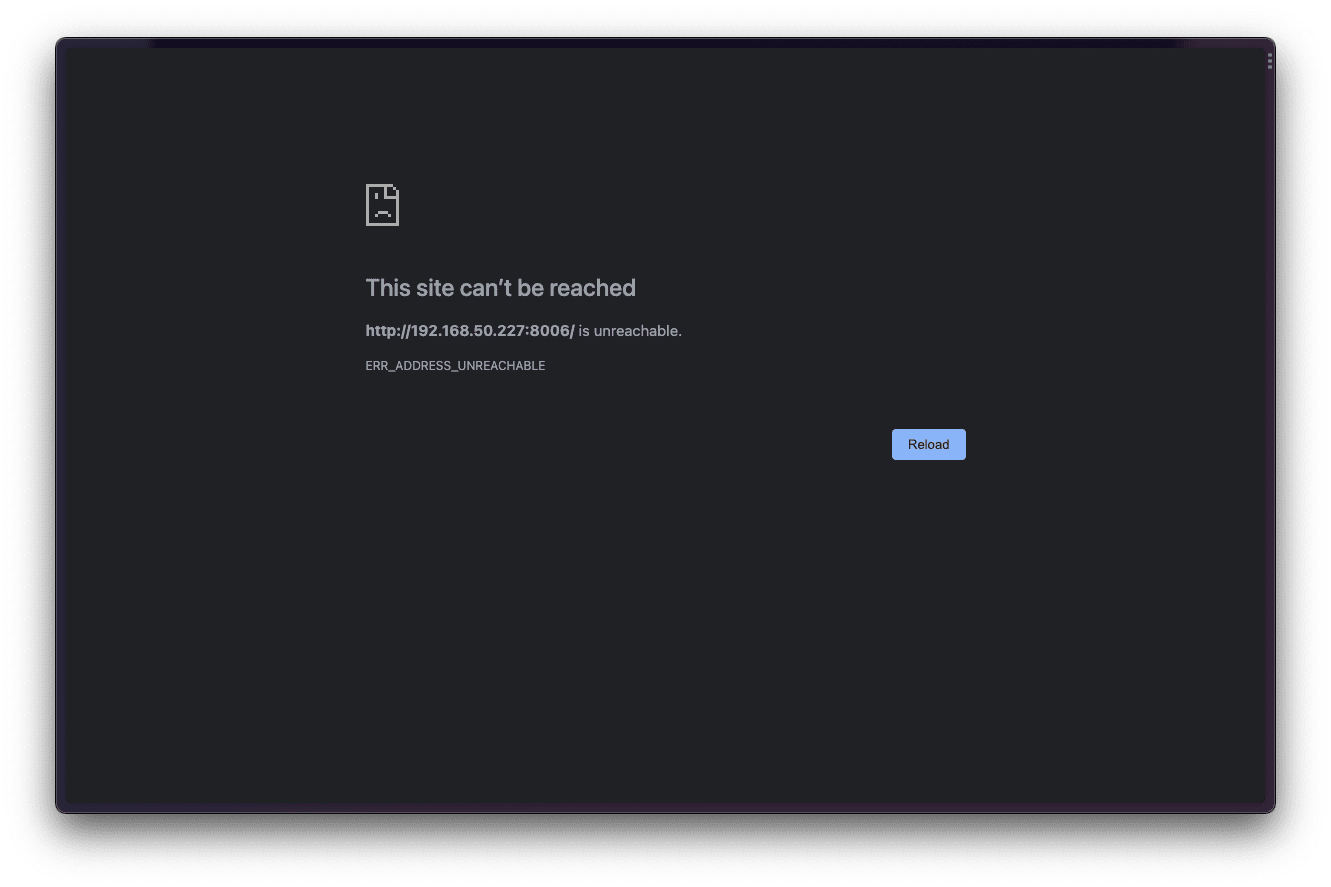
Once you’ve done so, go ahead and boot up the Host again, and the login prompt on your physical monitor should still be present. The device IDs has now done a shift again, making the WebUI unavailable again, so we need to fix that.
First we want to check our Network device(s) current status. Type ip link into the Shell.
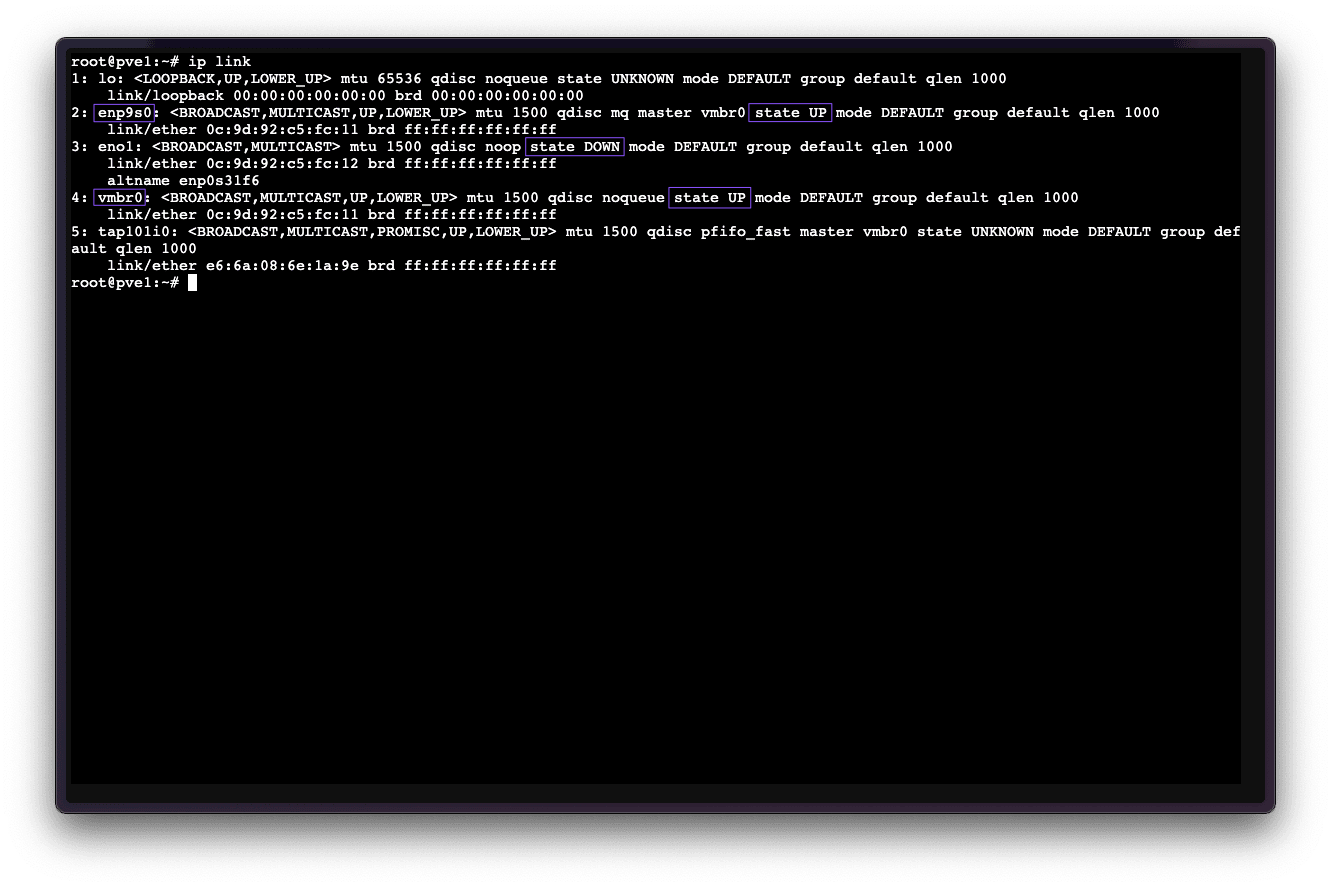
vmbr0 is the virtual bridge Proxmox made to the physical port.
Take note of your new Ethernet port ID. Then we need to configure the network interface config.
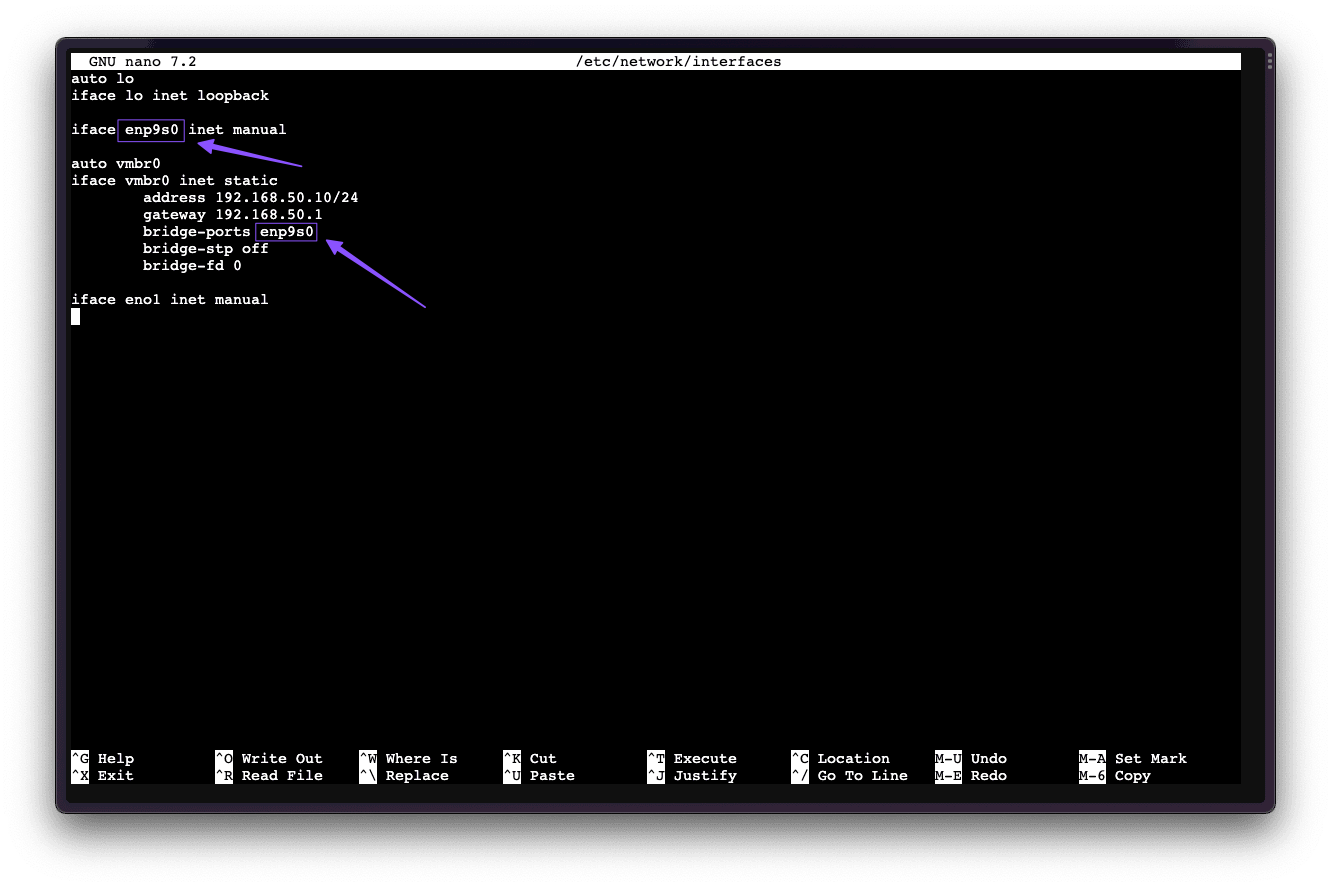
Save and Exit the file.
Ctrl + X -> Y -> Enter
Reboot your Host again.
WebUI back up and applying previous blacklisting
If everything was a success, you should now be able to access your Host again via the Proxmox WebUI, head over and check.
Once you’re in, head back into the /etc/modprobe.d/pve-blacklist.conf and /etc/modprobe.d/vfio-pci.conf and remove the # symbols you added in front of the entires.
Note, you’ll have to look up the new ID for the newly added Device(s) added, and remove the old one(s).
Do so by typing in the Shell;
lspci -nn | grep -i {device}{device} = vga, nvidia, usb, audio, wireless, and so on. Don’t include the { } brackets.
Final step
Once you’ve applied the blacklisting again, do a reboot of the Host one final time to apply changes.
You should now be able to use your newly added Hardware!